Are you ready to upgrade your kitchen with a range hood but unsure where to start? Installing a range hood might seem tricky, but with the right guidance, you can do it yourself and enjoy a fresher, cleaner cooking space.
Whether you want to reduce smoke, eliminate odors, or add a stylish touch, this step-by-step guide will walk you through everything you need. From gathering the right tools to handling wiring and ductwork, you’ll gain the confidence to tackle the job efficiently.
Keep reading, and soon you’ll have a perfectly installed range hood working hard above your stove.
Credit: www.5startrading.ca
Tools And Materials
Choosing the right range hood is important for your kitchen’s air quality and style. The right hood removes smoke, steam, and odors efficiently. It also fits well with your kitchen’s size and layout. Picking the wrong hood can lead to poor ventilation or a cramped look. Consider key factors before buying your range hood.
Type Of Range Hood
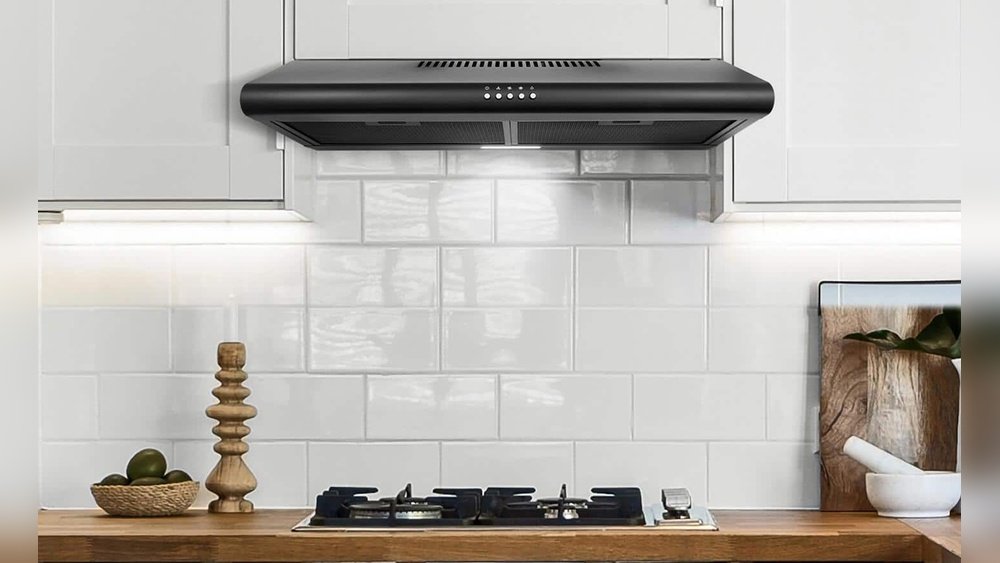
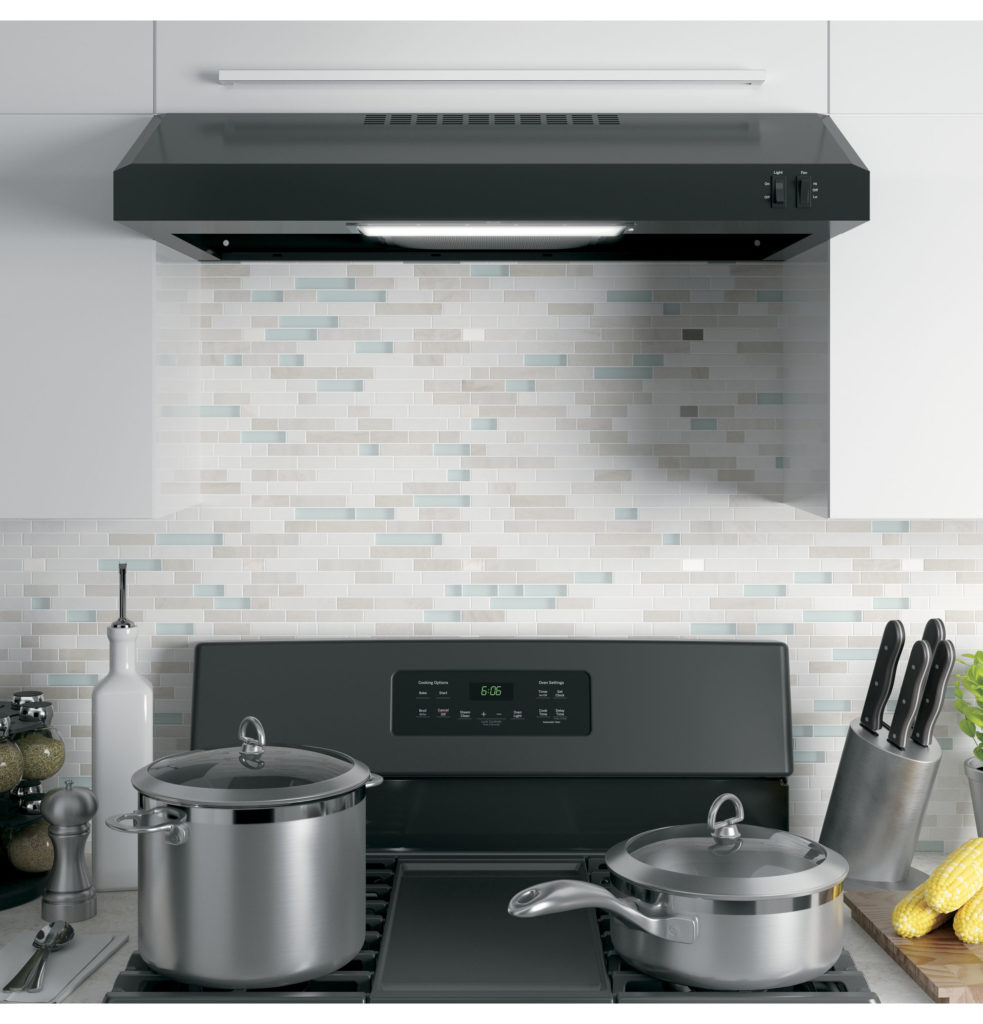
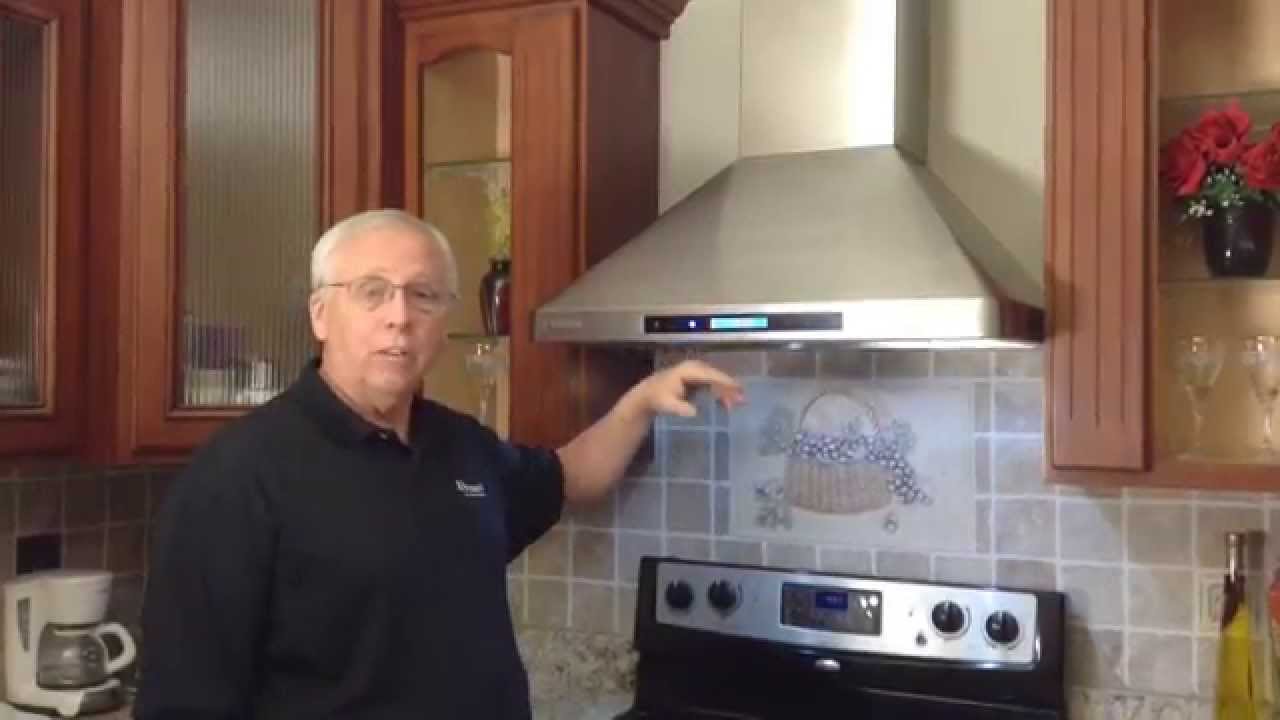
There are several types of range hoods. Wall-mounted hoods attach to the wall above the stove. Island hoods hang from the ceiling over an island cooktop. Under-cabinet hoods fit beneath kitchen cabinets. Choose a type that matches your kitchen’s design and cooking style.
Size And Coverage
Pick a hood that covers the entire cooking surface. The hood width should be at least as wide as your stove. Too small a hood will not capture all the smoke and steam. For larger stoves, select a wider hood to ensure proper airflow.
Ventilation Power
Check the airflow capacity, measured in cubic feet per minute (CFM). Higher CFM means stronger ventilation. For home kitchens, 300 to 600 CFM usually works well. More powerful hoods suit heavy cooking or large kitchens. Choose the right power to clear smoke quickly.
Noise Level
Noise is a key factor for comfort. Look for a hood with a low noise rating. Some models offer quiet operation modes. A loud hood can make cooking stressful. Pick a hood that balances power with quiet performance.
Installation Type
Consider the installation method that fits your kitchen. Some hoods vent air outside, others recirculate filtered air. Ducted hoods offer better ventilation but need a vent path. Ductless hoods are easier to install but may not remove odors fully. Choose based on your kitchen setup and local building codes.
Credit: www.youtube.com
Choosing The Right Hood
Securing and sealing your range hood is a crucial step. It ensures the hood stays in place and works efficiently. Poor sealing can cause air leaks and reduce performance. Secure mounting also prevents vibrations and noise during operation.
Follow these steps carefully to finish your installation properly. Use the right tools and materials for a safe and strong setup.
Securing The Range Hood To The Wall Or Cabinet
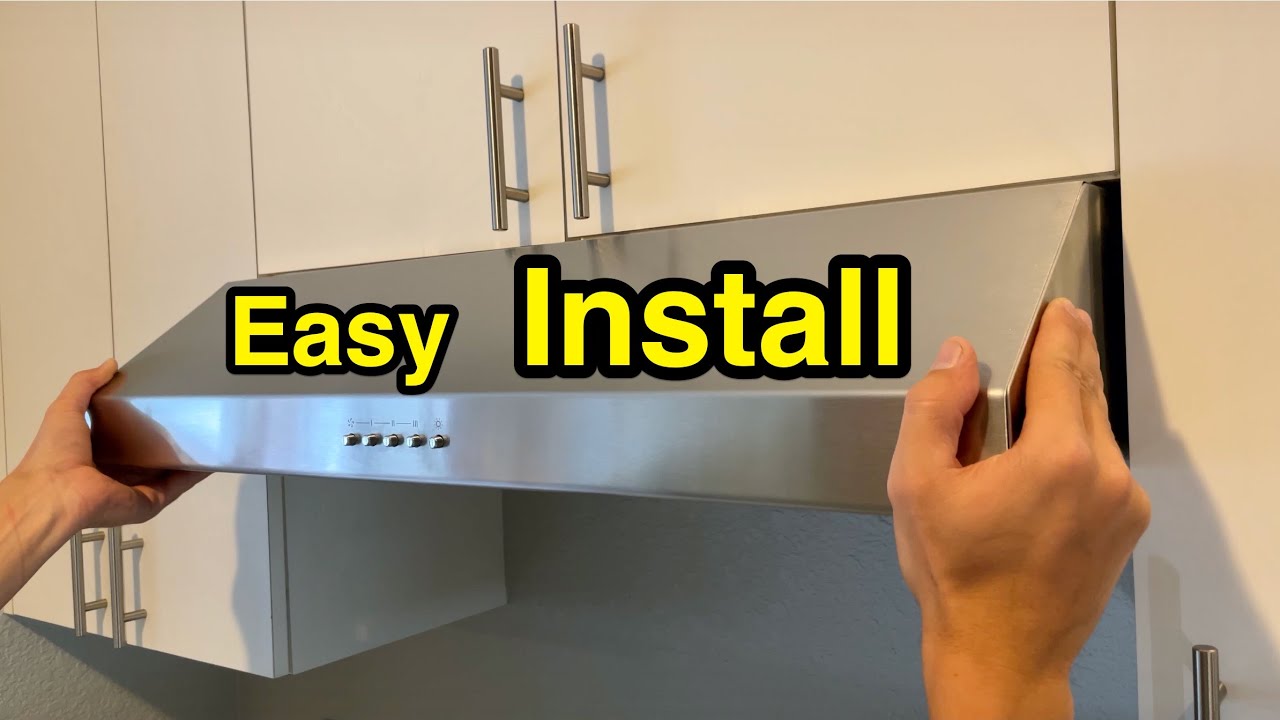
Begin by aligning the hood with the mounting holes. Use a level to keep it straight. Attach the hood using screws designed for your wall type. Drywall anchors may be needed for hollow walls. Tighten the screws firmly but avoid over-tightening. Check the hood’s stability by gently shaking it. It should not move or wobble.
Sealing The Ductwork Connections
Connect the ductwork to the hood’s vent outlet. Use foil tape to seal all duct joints completely. Avoid using duct tape as it does not hold well over time. Ensure the duct is straight and has no gaps. A smooth airflow path improves hood efficiency. Check for any air leaks around the connection points.
Sealing Around The Hood Edges
Apply a bead of high-quality silicone caulk around the edges where the hood meets the wall or cabinet. This prevents air and grease from escaping. Smooth the caulk with a damp finger for a neat finish. Allow the caulk to cure according to the product instructions before using the hood.
Credit: www.youtube.com
Frequently Asked Questions
Can I Install A Range Hood Myself?
You can install a range hood yourself if you have basic tools and follow instructions carefully. Electrical and venting work may require professional help.
Do Stove Hoods Have To Be Vented Outside?
Stove hoods do not always need to vent outside. Ducted hoods vent air outdoors, while ductless hoods use filters to recirculate air inside. Venting outside improves air quality and removes smoke, odors, and moisture more effectively than recirculating systems.
How Much Does Home Depot Charge To Install A Range Hood?
Home Depot charges approximately $200 to $500 for range hood installation. Prices vary by complexity and location.
How Do You Install A Range Hood Vent Through The Wall?
Cut a hole through the exterior wall for the vent. Install ductwork and secure it. Mount the range hood and connect electrical wiring. Seal all seams with foil tape to prevent leaks. Test the hood to ensure proper ventilation and operation.
Can I Install A Range Hood Myself Safely?
Yes, many people install range hoods themselves with basic tools. Follow the manual carefully and take safety precautions. If unsure, consult a professional electrician.
Conclusion
Installing a range hood improves kitchen air quality and reduces odors. Follow each step carefully to ensure a safe setup. Use the right tools and check electrical connections before starting. Proper venting helps remove smoke and grease effectively. Taking your time avoids mistakes and ensures better performance.
A well-installed range hood keeps your kitchen fresh and comfortable. Enjoy cooking with cleaner air and less smoke around.